
Aqua Plus Filtration | Water Filtration Systems - whole house reverse osmosis system
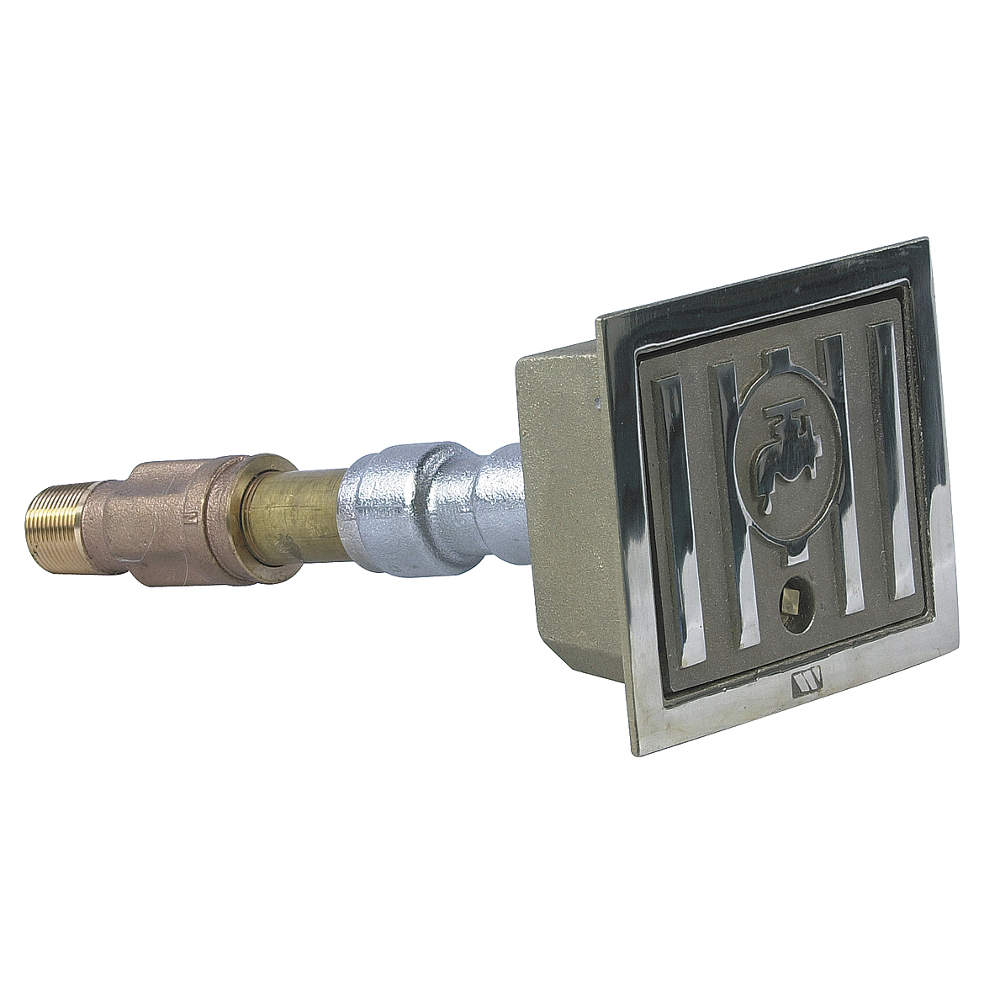
watts hy-725 installation manual
Caleffi thermostatic mixing valves provide precise temperature control for hot water systems in aged care, healthcare and other high risk applications.
8 - Apply soapy water to the connectors. Place the ceramic bowl facing the flush pipe, waste pipe and threaded rods, then push firmly until it touches the frame.
Hy 725manual
9 - Immediately place the white plastic piece, washer and nut onto the threaded rods. Use an 18 mm open-end wrench to tighten, without forcing.
2 - On your mark B, draw the holes for the wall brackets 235 mm to the left and to the right of the center of your evacuation.
A boiler's primary low water cutoff is a mechanical device with multiple functions: Senses water level in the boiler through a mechanical float and shuts the ...
6 - Adjust the level by loosening the adjustment bolt on one of the feet using a 13 mm wrench, then tighten the screw. Make sure the screw is firmly tightened on the other foot.
Hy 725replacement parts
1 - Grease the sealof the 110 mm waste apdato so that the 90 degree waste pipe elbow fits easily. If you are gluing the PVC connection, use a straight glue-in 90/100 sleeve. For standard bowl placement, check that the height is 230 mm. Check to make sure the unit aligns with your marks. If necessary, adjust your measurements for the desired bowl height.
Hy 72510
The water level indicators available on AliExpress usually offer long battery life, which reduces the frequency of battery replacements and minimizes ...
9 - Place the fixation brackets on the threaded rod, with the clips open. Secure the brackets to the wall using a 13 mm open-end wrench.
It depends on the diameter of the pipe. The gas company can give you that information. We live several hundred yards from our gas meter and ...
3 - Attach the exterior part of the stop valve to your cold water connection using a 22 mm open-end wrench and a pipe wrench. This assembly must be made without using a seal.
Hy 725price
20231122 — The beauty of the quick-connect fitting is its simple design. It is comprised of three individual components: a collet, an O-ring, and a body.
6 - Make sure the isolation valve is closed and open the main water supply. Make sure the isolation valve connection is water-tight.
£9.99 flat shipping is applicable on orders with an aggregate weight less than 10kg. Orders exceeding 10kg will be charged default shipping rates
LTEC Channel Drains are a practical and cost-effective solution anywhere runoff water needs to be controlled or captured. The life expectancy of our drain is ...
tekmar Control Systems Ltd. provides heating and cooling products. The Company offers A/C systems, solar panels, wood boilers, sensors, timers, ...
Hy 725parts
4 - Measure the space between the marks on the pipes. Carry this measurement over to the end of the pipes, adding 5 mm, and then cut off the end.
Our Uponor Snow and ice melting system integrated in the ground keeps them free. The time-consuming shoveling of snow and polluting de-icing with salt or sand ...
watts hy-725 parts list
A PRV is a Pressure Reducing Valve that is commonly placed on water distribution systems and within individual homes, multi-family homes and businesses. There ...
5 - Make sure that the unit is at least 230 mm from the wall, then mark the locations of the holes for the unit's foot brackets.
hy-725-pd-1
7 - Place the other end of the hose in a bucket to catch the water, and then slightly open the faucet to check for water. Close the isolation valve. This operation flushes any debris out of the water connection to the cistern,
Congratulations, you have finished installing your new GROHE product. Check our other installation guides and discover all of our products on grohe.uk/com.
We have these Watts LF25AUB-HP-Z3 3/4" pressure reducing valves now available at The Plumbing and Irrigation Warehouse www.plirw.com.
4 - On the back of the actuator panel, attach the air button by rotating it completely, then connect the blue tube to the mechanism.
10 - Adjust vertical alignment using the screws and spirit level. Use a 13 mm open-end wrench to tighten the screws. Close the metal clips to lock the screws. Finish by placing the plastic clips over the rod.
1 - Using your Spirit level, draw a vertical line that crosses the center of your waste pipe. Measuring from the floor, for a standard bowl placement at 400 mm from the floor, draw a mark A at 1 m and a mark B at 1.08 m. If necessary, adjust your measurements to match your own desired bowl placement.
4 - Secure the cistern in to the frame. First place the elbow of the flush pipe on the frame, and then press down on the cistern to clip it into place.
10 - Make sure the bowl is level. If necessary, adjust it by rotating the white plastic pieces. Install the plastic covers.
4 - Put the unit into place and check the position with respect to the water supply and waste pipe. Maneuver the 90 degree waste pipe elbow according to your installation (horizontally or vertically). If necessary, adapt the connection using PVC piping.


 8615510865705
 8615510865705